Hello Makers,
If you are already a senior artist, please skip this tutorial. This tutorial is for students and entry-level artists as Wemo makers.
Author: Hugo Shih, Digital Artist in Wemomedia
First, to be a Wemo maker
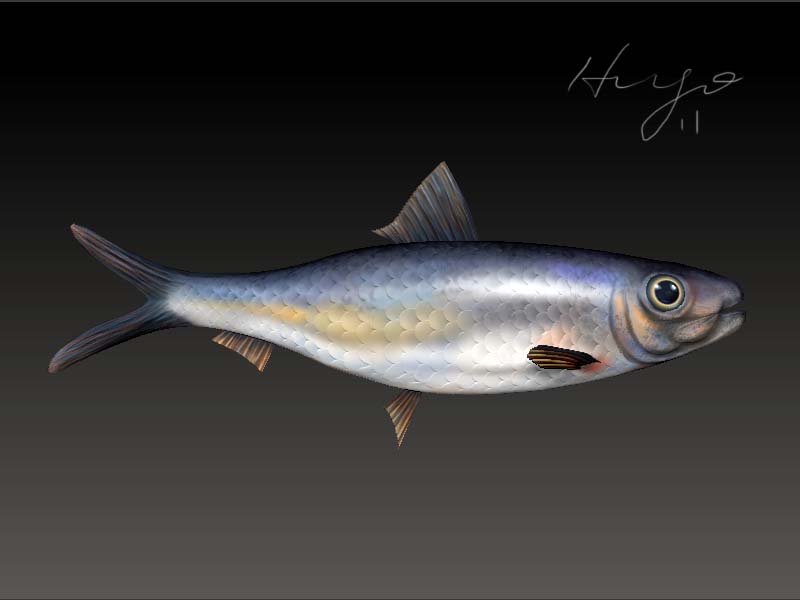
get the template from our maker site. I choose to make Blue-ringed Angel fish
Although, there's a photo on our maker site for you to image what the fish look like, just remember: it is not for your model reference.
Try to find enough reference photos for you to see all details of the fish, and find a photo as your main guide to build this fish.
Here is my main photo.
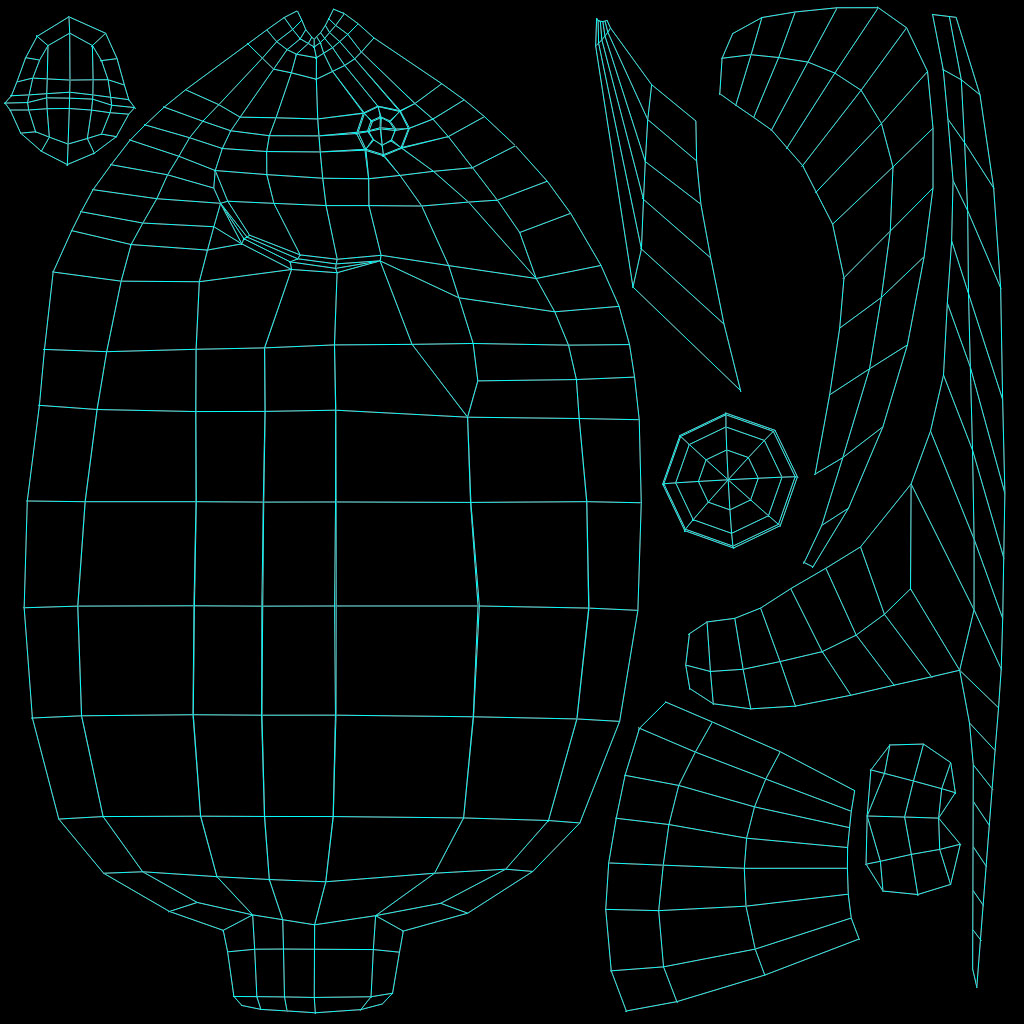
Second, the new model
modify your model LOD0 in the template to fit this fish.
For this fish, the biggest difference between Queen Angel (template) is dorsal and anal fins. (really easy, huh!)
So, just to manipulate those fins in the template to mimic the new fish.
For me, I just delete some polys from the template and extrude some new polys.
After modifying your polys, don't forget to modify you UV map.
As you can see, I didn't modify anything from body. That implies that I can utilize some texture from template (Queen Angel).
In this case, I'm going to use the normal map of Queen Angel's body.
Also, I can utilize the specular map from Queen Angel to be the mask map to draw scales on the new fish.
Remember, to save your UV space, just unwrap the half of your fish and overlap the other half.
Third, prepare to go to ZBrush
If you are ready and sure about your LOD0, you have to make another version of your model for ZBrush.
There are two things you need to modify in this model.
1, For the entire model, delete half of it.
2, For fins, you need to add edge loops on your borders of those fins. And press "3" to see the smooth results. If the result is really similar to your non-smooth model, it is ready to export as obj file to ZBrush.
extra edge loops on fins and on the border of the half body
Beside the model, we need some guide maps to help us to draw diffuse maps in ZBrush.
For me, I did a color guide map and scale mask map. The color guide map is a tweek from my main photo reference. The scale mask map is a tweek from the specular map from Queen Angel.
Notice that, we do not encourage directly using photos as the diffuse map, but we encourage you to use those photos wisely.
Forth, the normal map
As I mentioned before, I would like to use the old normal map from Queen Angel.
However, we still need to draw our new normal map for fins. It's easy to draw that in ZB.
(I'll skip how to generate normal map in ZB here)
The tip is which brush should I use? For me, I use slash 3 in Zadd mode plus lazy-mouse
The final normal map
Fifth, draw diffuse map
This part would be pain in the ass if you stick with photoshop and you UV map. However, it would be a pleasure, if you go with ZBrush.
1. import your color guide map and turn it into polypaint in ZBrush.
When you draw diffuse color, remember to use flat color material.
Note: when you import your model into ZB, remember to flip your UV map vertically
2. Follow the color guide and mesh while using polypaint tool to paint whole fish body.
Ignore the scale when painting. After finish all color, import your scale mask map onto the fish, and apply the function: mask by intensity. It will auto apply the mask from your texture map. Then you can paint the scale onto the body and fit the normal map. After that finish painting fins to connect the body well.
Note: you should draw fish eyes on the body (because LOD2 doesn't have eyeballs.)
3. Export the map, and fix some inconsistent color (because of smoothed UV layout) in Photoshop.
Final diffuse map
Sixth, drawing specular map
For spec map, here's only one thing I want to say:
you can have colors in specular maps. Our shader supports colorful specular on models.
For this case, those blue rings are really shiny, so I draw them as light blue in my spec map.
final spec map
And don't forget check all maps in Maya. Please turn on the high quality rendering to see your normal map and the specular map.
The End.